Hi all
So, it is time for the second part of the series about using the FarPoint BizTalk adapter for Excel spreadsheets. You can find my first post in the series, which was about the installation of the component here.
So, this post is about the wizard that guides you through creating a schema for an Excel spreadsheet.
I created a simple spreadsheet to test with. It has two sheets, which you can see here:
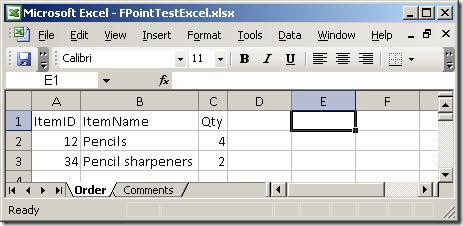
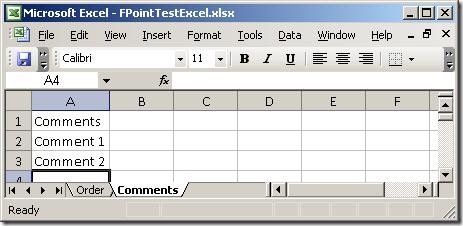
Basically, two sheets - one with order lines and one with comments. So, firing up the wizard:
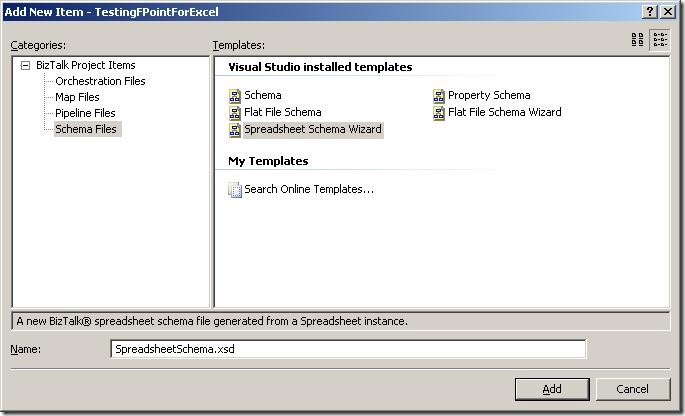
The first thing to do is to add a new item to your project, and choose the new schema type "Spreadsheet Schema Wizard". The wizard fires up automatically, when you click "Add".
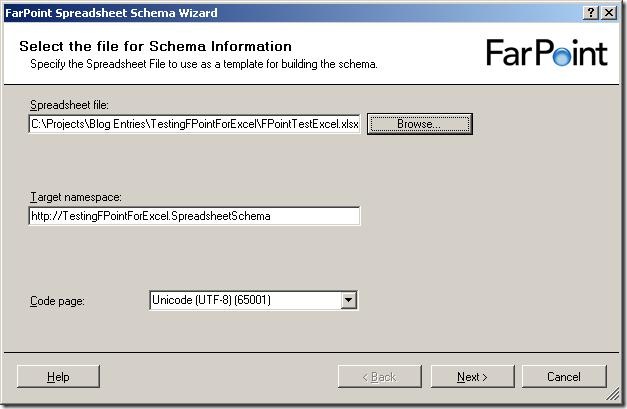
The first screen of the wizard isn't really a surprise  It wants to you tell it which file to use as a base for the schema, and give a target namespace and inform it about what code page to use.
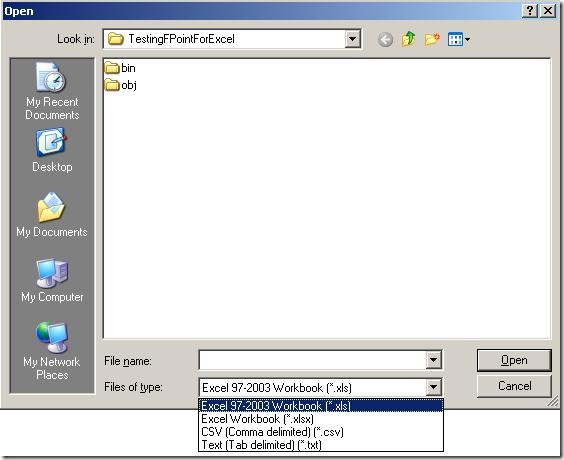
When browsing for files, I noticed that the components apparently not only deals with spreadsheets (Excel 97-2003 as well as 2007) but also delimited files. So note to my self: Look at that functionality later on - maybe it is better than BizTalks built-in support for that, or perhaps more suitable in some situations. Maybe that's a blog post that will appear at some point 
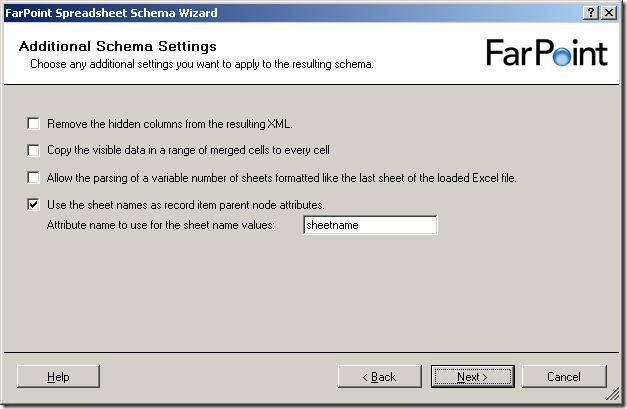
So, a few more settings to set, all of which are described in the documentation.
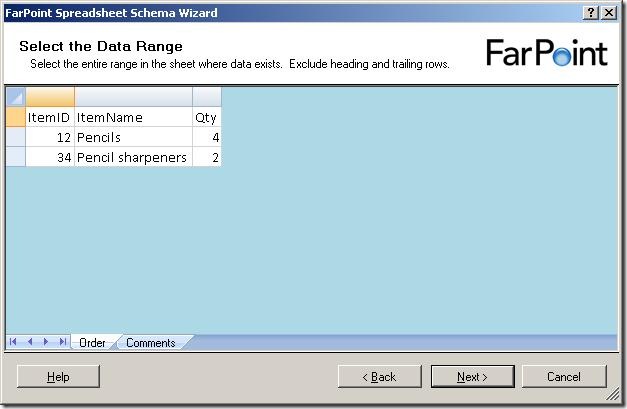
Now, it shows me the data in the first sheet of the spreadsheet. It has removed all cells that it has decided are not used for data. Now, I need to select the cells with data in them, like this:
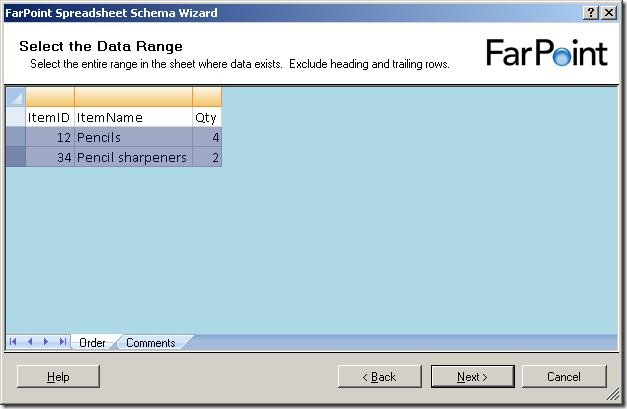
and when I click on the next sheet (Comments), I get to select data from that sheet as well:
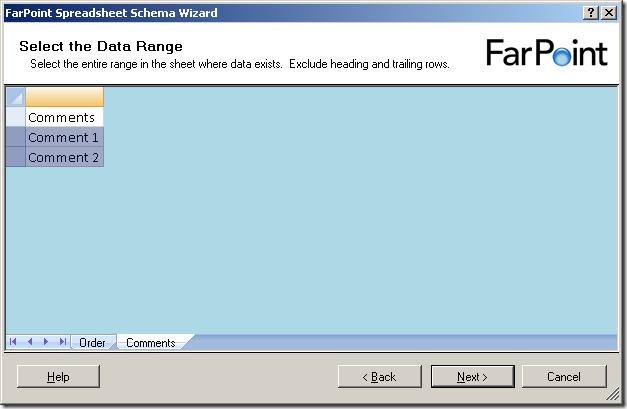
Notice, that I can only select rows - I can not select single cells or leave some columns out.
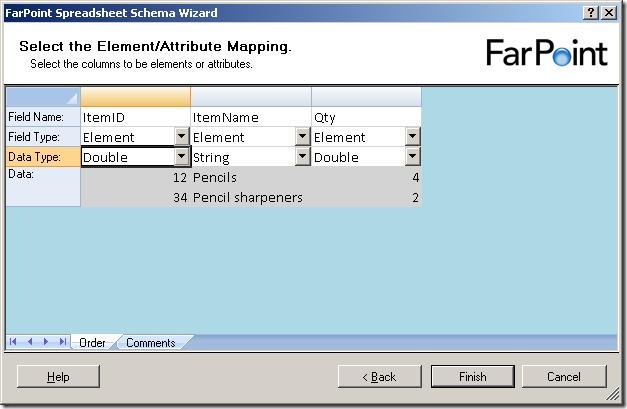
The next step is to select names for the columns, choose whether they should be elements or attributes and also the data type of the columns.
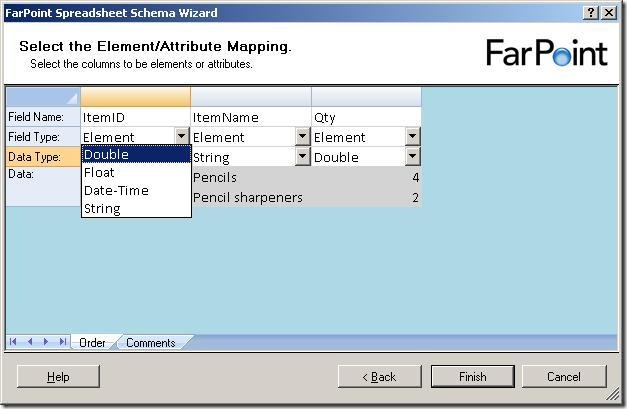
There are four data types available, double, float, datetime and string.
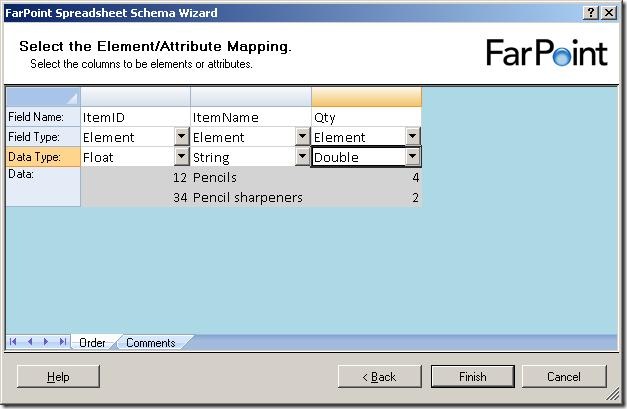
Just to find the difference between the float and double, I chose one of each in my example and clicked "Finish".
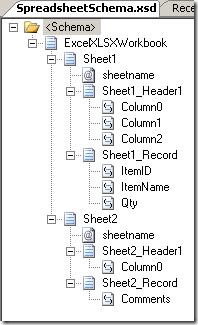
The resulting schema looks like the one above. For each sheet, there is a sheetname attribute, a header record and a record for the data, which is reoccurring. The double and float elements were translated into the xs:float and xs:double types... not really surprising, you might say 
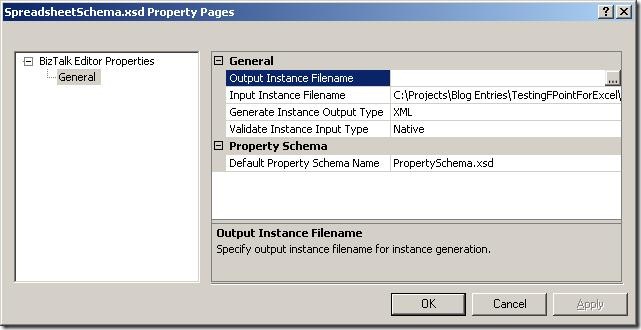
Looking at the properties of the schema, the path to the base spreadsheet has been pre filled for you in the "Input Instance Filename" and the type is set to "Native".
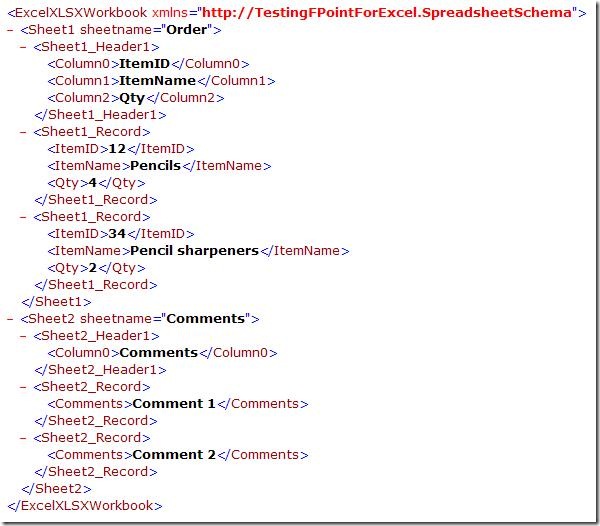
When validating the instance, I get this XML, which looks like I expected it to.
So, to sum up, the wizard is really simple to use and it takes basically no time to create the schema.
The major thing I would like to see improved is that I can only have one type of data in one sheet, meaning that the data in all rows must be for instance order lines, inventory items, or something like that. I can't have an order header and the order lines in the same sheet, and I can't have a sheet with an order header which spans multiple lines. This really restricts the spreadsheets that can be parsed.
My next post in the series will be about the runtime, where I will setup a running instance of my project and see how it functions at runtime.
You can dowload my project here.
--
eliasen